
MacOS
Important Notice: Migration of Documentation Website
Please be advised that our documentation website is currently undergoing a migration to a new platform. To ensure you have access to the most up-to-date information, we kindly request that you visit our new documentation website located at:
Official Snowflake Snowconvert Documentation
For any immediate assistance or if you encounter any issues, please contact our support team at [email protected].
Thank you for your understanding.
MacOS Installation
Click on the downloaded .dmg file.
Double-click on the SnowConvert logo or drag it into the application's folder. \
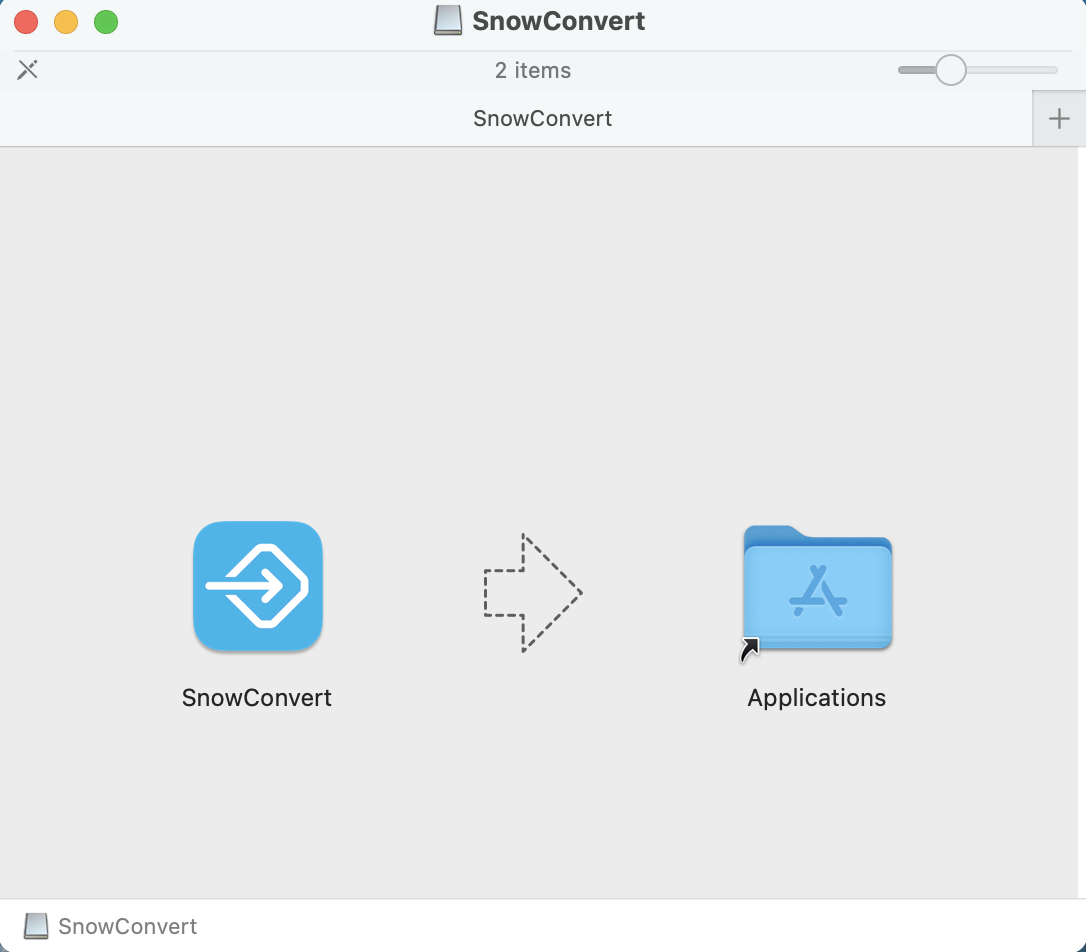
Once your installation is complete, you can launch SnowConvert.
Setting up the CLI
If you want to use the SnowConvert CLI (Command Line Interface), you first need to have the corresponding installation file for the CLI version. The file would look like this:

The next step is to extract the contents of the installation file. E.g., the extracted files can be saved in the following folder: /Users/<User>/Documents/dotnet-artifacts
Then, you must run the following command in the terminal. Please consider replacing the actual location where you extracted the files. Depending on the configuration of your machine, you might need to use the sudo command to use root privileges:
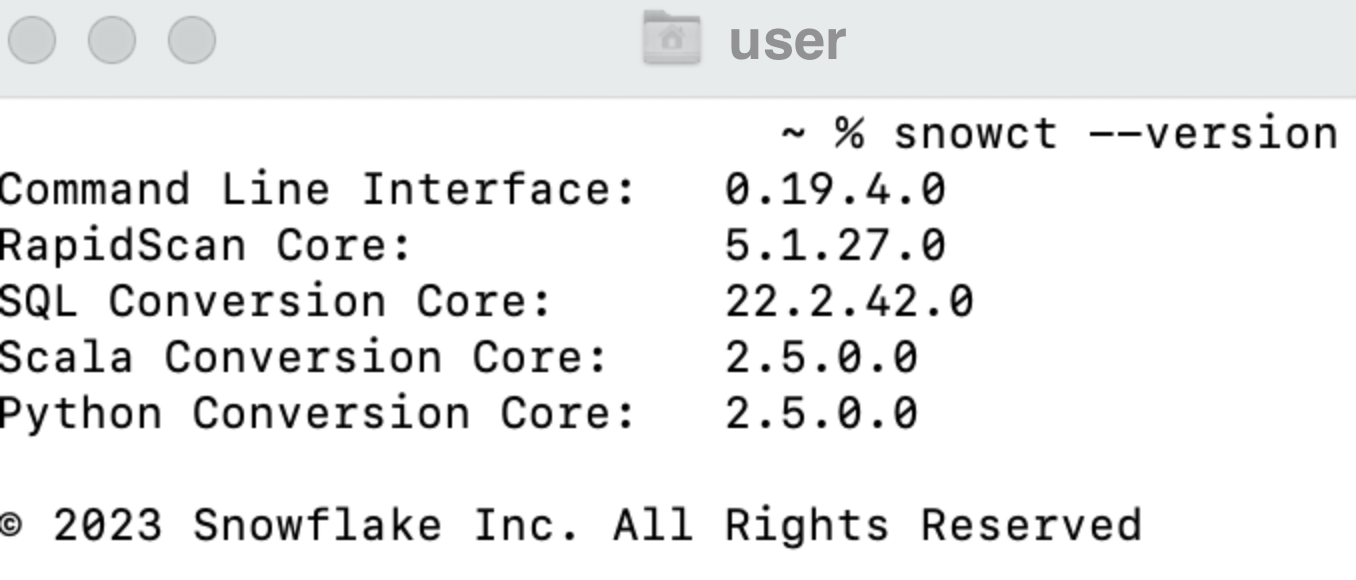
If /usr/local/bin is in your PATH environment variable, then you will be able to use the snowct command to execute SnowConvert. For example, you can execute this command to learn more about the CLI:
You should see the current installed version of your SnowConvert CLI:
You can also check How to use the SnowConvert CLI?
Last updated