
Windows
This is a deprecated version of the SnowConvert documentation, please visit the official site HERE.
Windows Installation
Click on the downloaded .exe file.
That will start the installation process on your computer.

Once the process is finished you can open SnowConvert from your applications menu.

After you start the application you can create a new assessment or conversion project or open an existing one.

Setting up the CLI
The first step to set up the SnowConvert CLI in your Windows environment is to download the corresponding .zip file (see the image below) that contains all the necessary elements to run the CLI version of SnowConvert.

Then you have to extract that data and put it in a convenient location that you can use to include it in your PATH environment variable. In this example, the file is in the C:\ drive. You have to copy the path where your files are located. For this example it would be:
C:\SnowConvert-CLI-arm646-windows

Search "environment variables" in the Windows search bar and click on Edit environment variables for your account.

This will open a new window. Click on the Edit button while selecting the Path variable for your user.
This will open another window. Click on New and then paste the path that you had copied earlier. You must append this text at the end of the path: \orchestrator . For example, if you copied:
C:\SnowConvert-CLI-arm646-windows, after appending that text, you will have:C:\SnowConvert-CLI-arm646-windows\orchestrator.Click on OK to leave the current window, and then click on OK to leave the Edit environment variables for your account window.
You can now use the snowct command in the command line (you might need to open a new command line).
Verify that it was added correctly by executing
snowct --version. You will see the information for your SnowConvert CLI version displayed.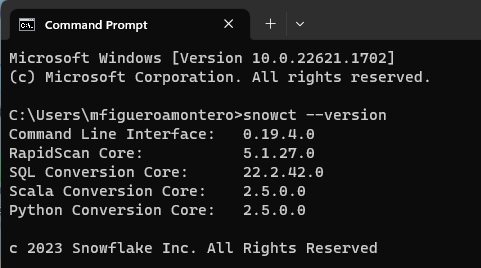
Last updated