Converting subfolders
On this page you will learn how to execute a conversion on a subfolder from the selected input folder.
This is a deprecated version of the SnowConvert documentation, please visit the official site HERE.
SnowConvert allows you to run a conversion over a specific portion of your code, ignoring the parts that do not need to be converted.
How to execute a conversion over a subfolder
After executing an Assessment you must click on the Continue to Conversion button in order to access the conversion setup page.
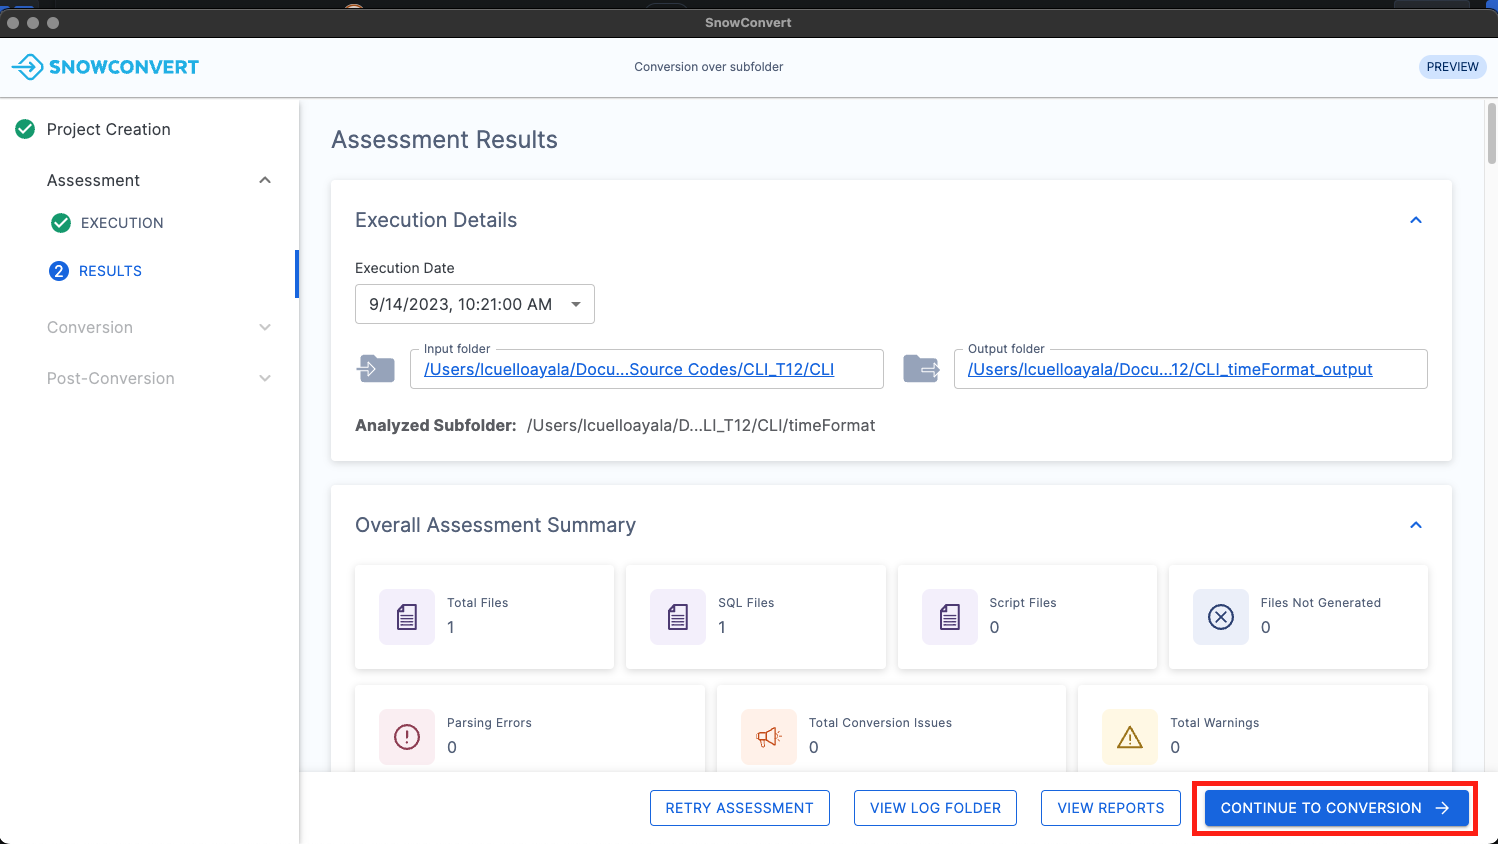
Note: Also you can click on the Skip Assessment button on the project creation page to go directly to the conversion setup page. For more information see Conversion.
Now the conversion setup page will show a checkbox called Convert a subfolder below the input folder path field.
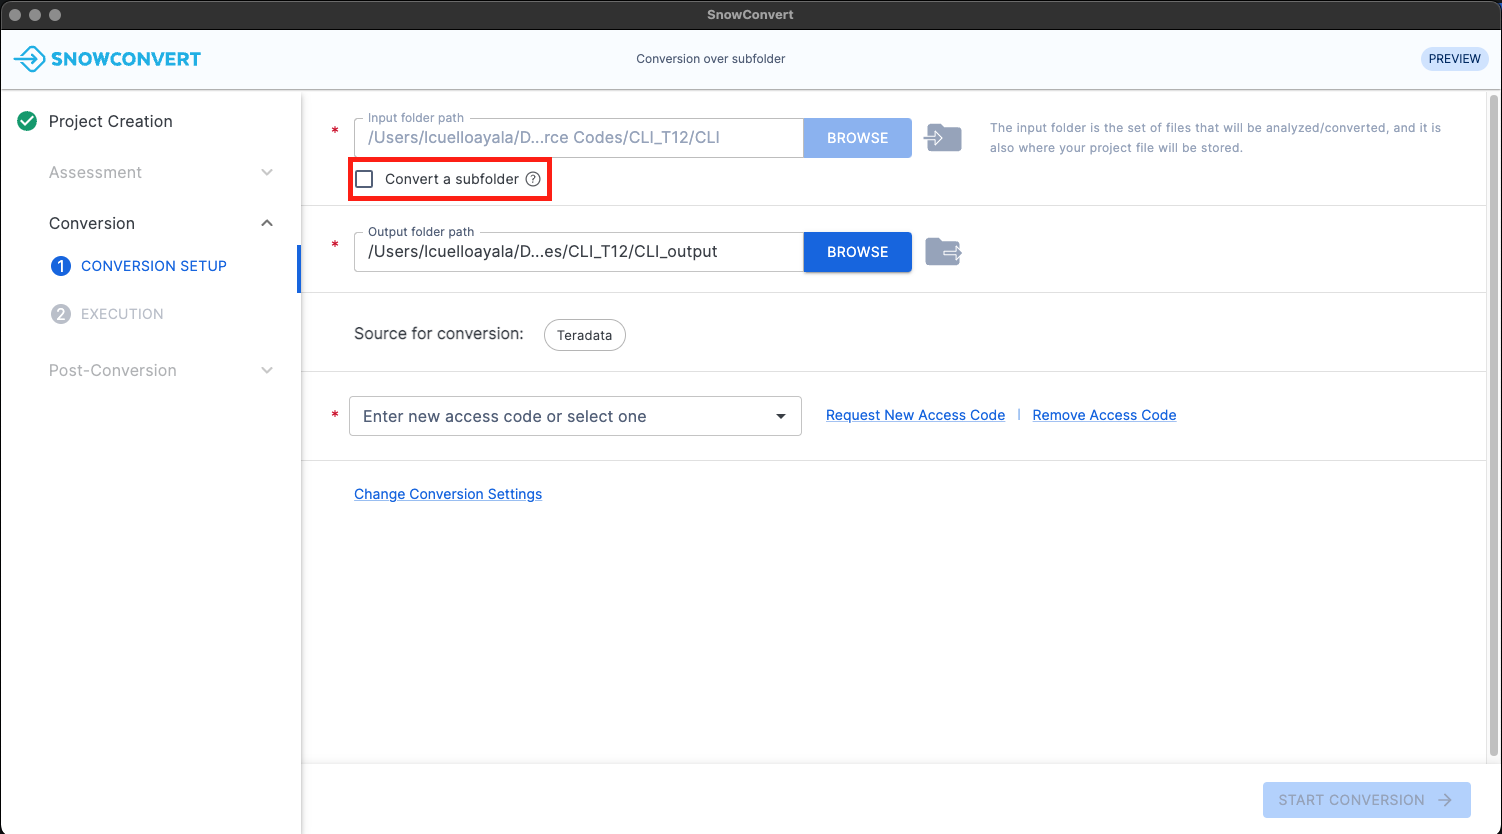
Click on the Convert a subfolder checkbox to open the folder explorer component.
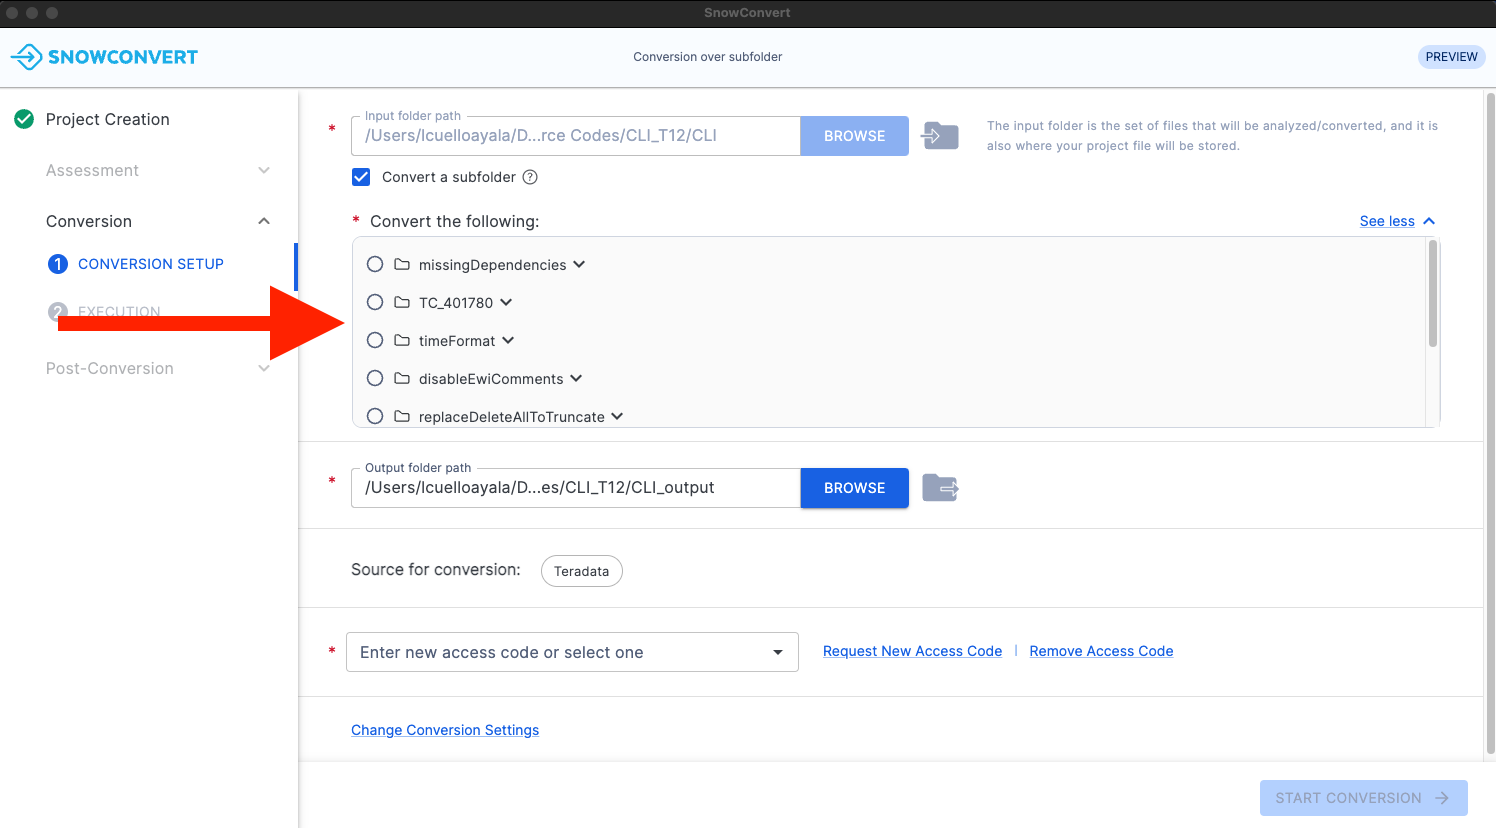
Note: The folders shown on the folder explorer component, are the ones that contain files with allowed extensions (depending on the selected source platform). So, if a folder does not show up on the folder explorer component, it means it does not contain files with the allowed extensions.
Now you can navigate through the subfolders. To select a subfolder, click on the radio button located on the left side of the subfolder list item. You can expand or collapse the subfolder to review the files within it by clicking on the subfolder name or clicking on the expand/collapse icon on each item.
After selecting a subfolder, the selected folder path can be viewed on the "Convert the following" section above the folder explorer component.
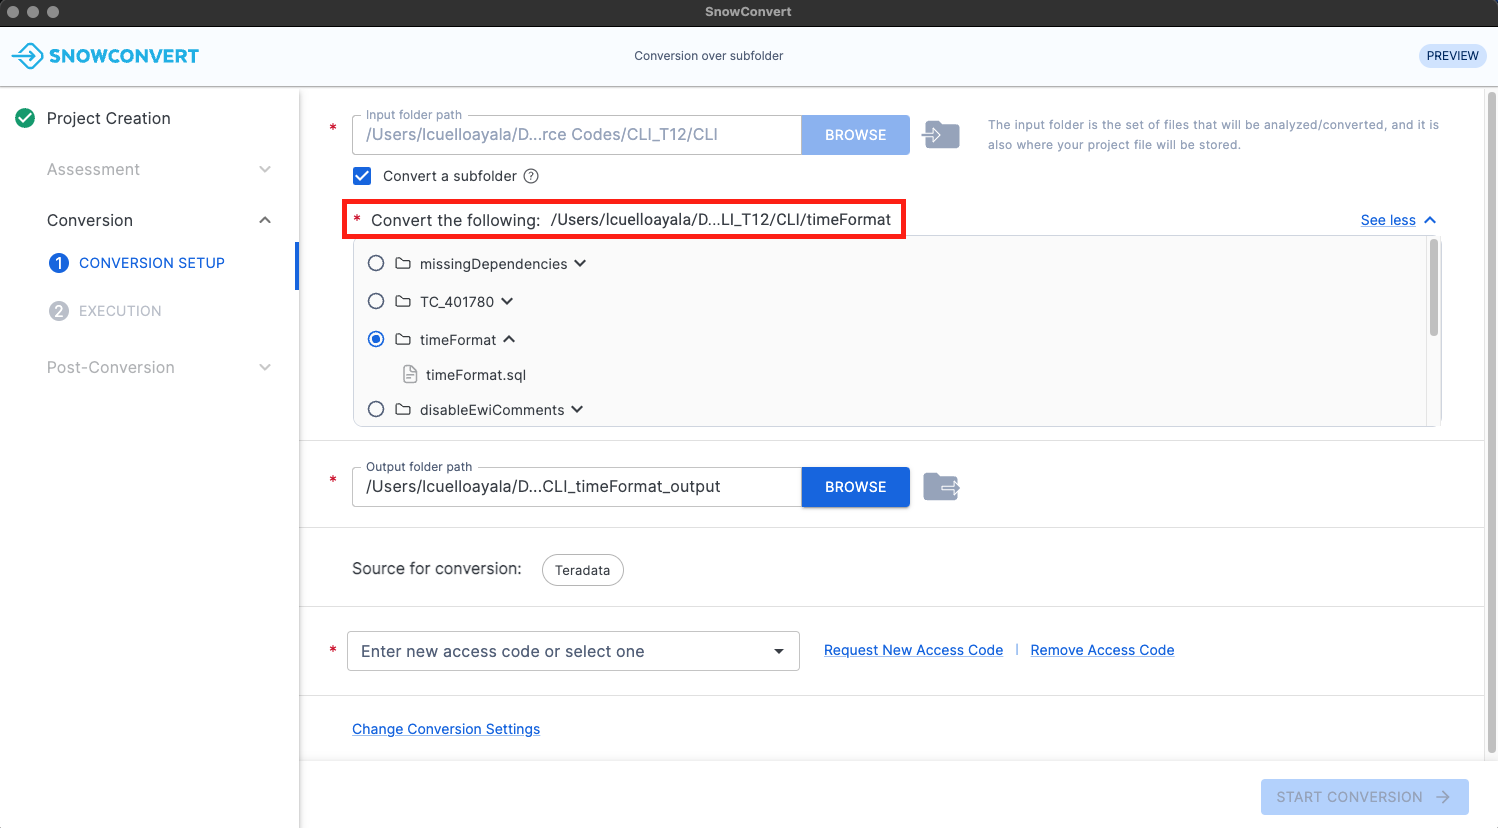
Note: Hovering on the path label will show a tooltip with the full path, this applies to any field that contains a shortened path (input folder path, output folder path, etc.).
Now, you can enter your access code for the corresponding source platform and click on the Start Conversion button. The conversion will be executed using the selected subfolder as the input.
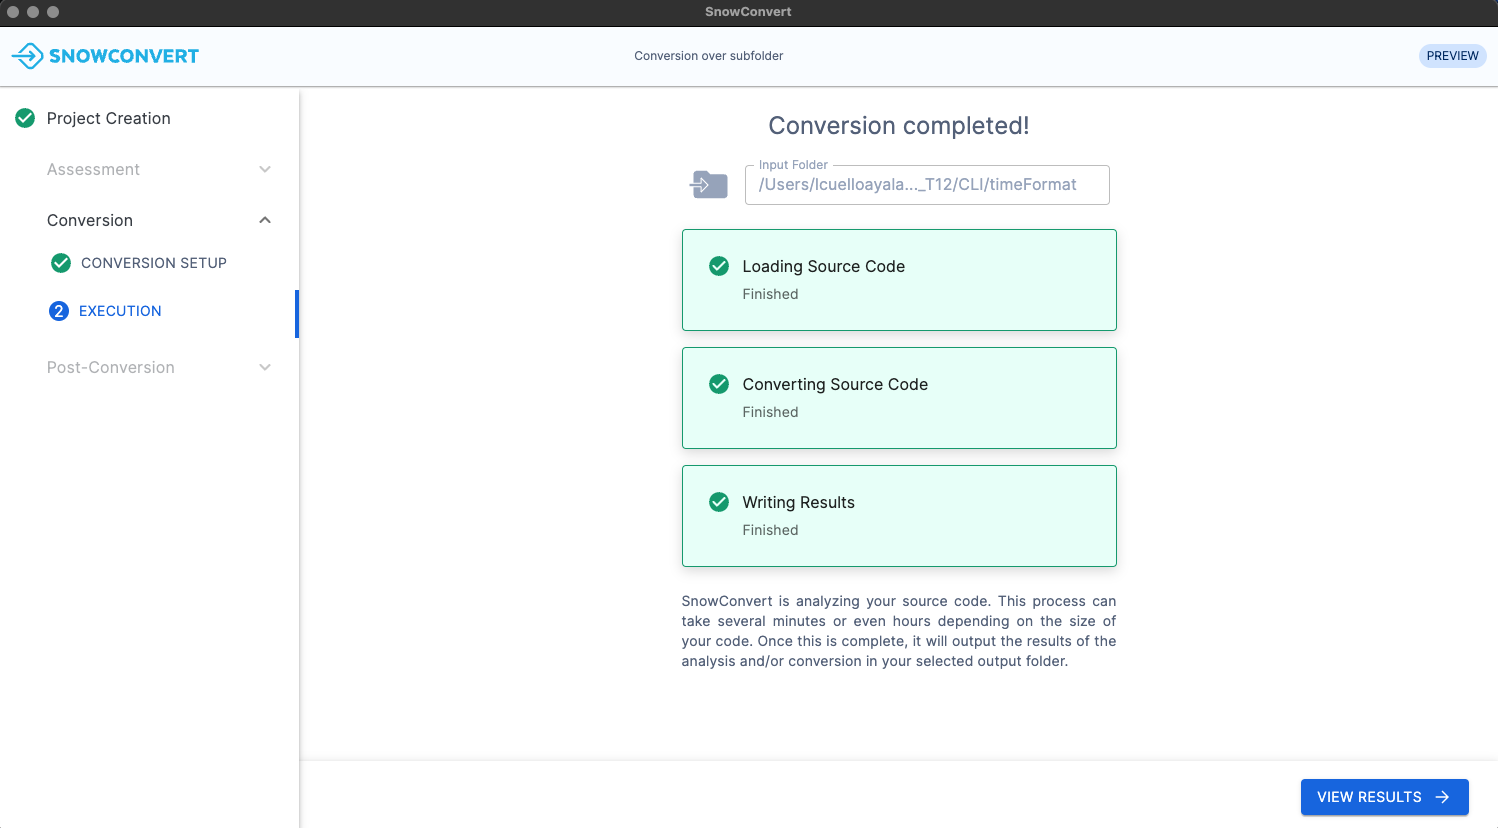
When this process is completed you will be able to see:
Conversion Reports: Conversion reports will be open as soon as your conversion is finished and you click on the "View Results" button. The selected subfolder will appear below the input folder field on the report.
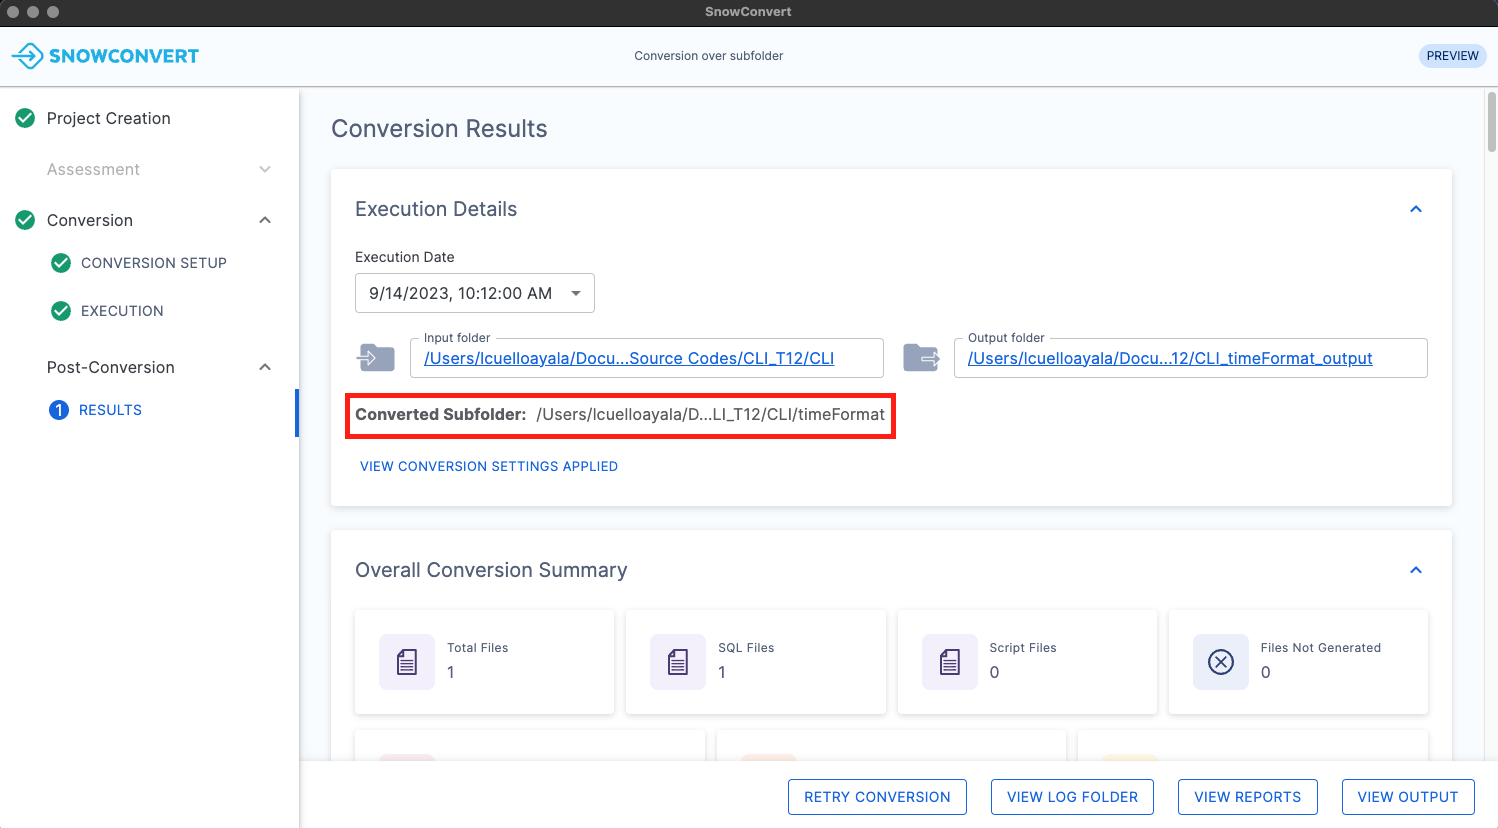
Conversion Output Code: To check this you only need to click on "View Output" on the Conversion Results page and the folder that contains your converted code will be opened.
Retry Conversion: After you execute a conversion, on the Conversion Results page you can select the Retry Conversion button to run again the conversion. That is useful if you change the source code and want to convert the new source code again, or even if you want to select another subfolder to convert.
Last updated
